South Llano River · South Llano River State Park
Setting up a small telescope on the river flats
Below the juniper hills near Junction, the South Llano River winds through old pecans under one of the darkest skies in the Hill Country. It is a fine place to learn a telescope.
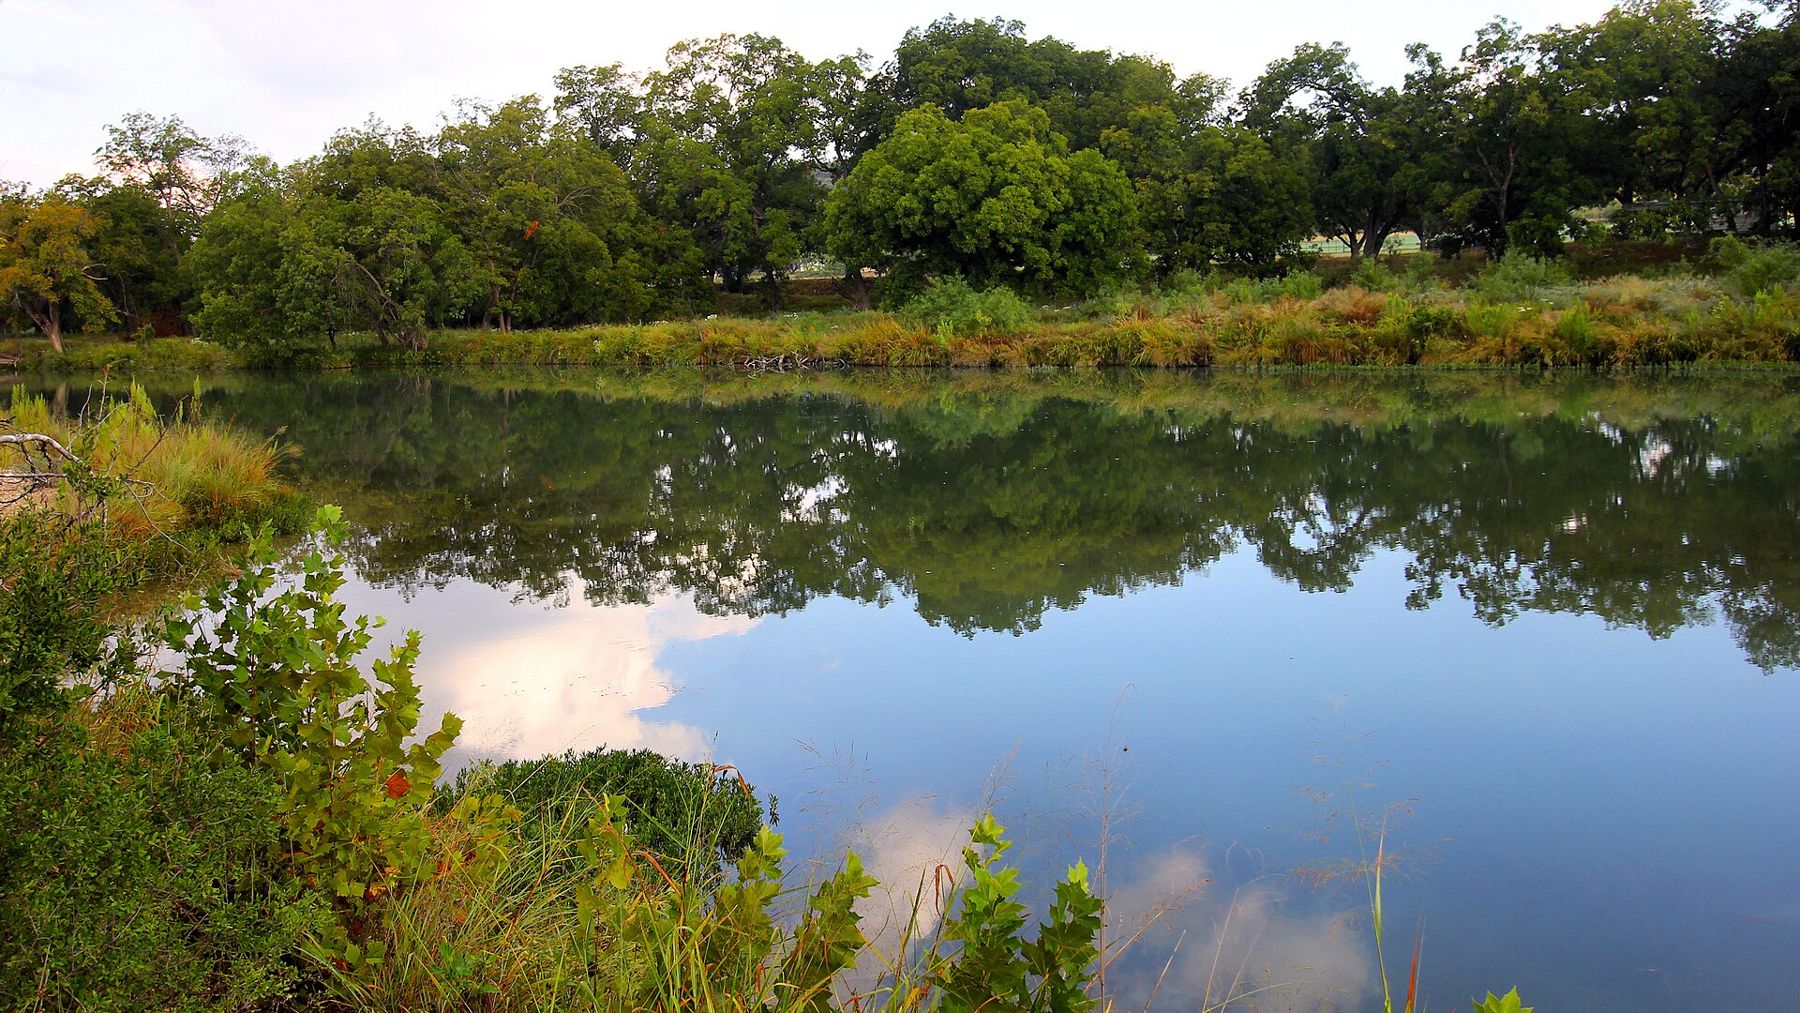
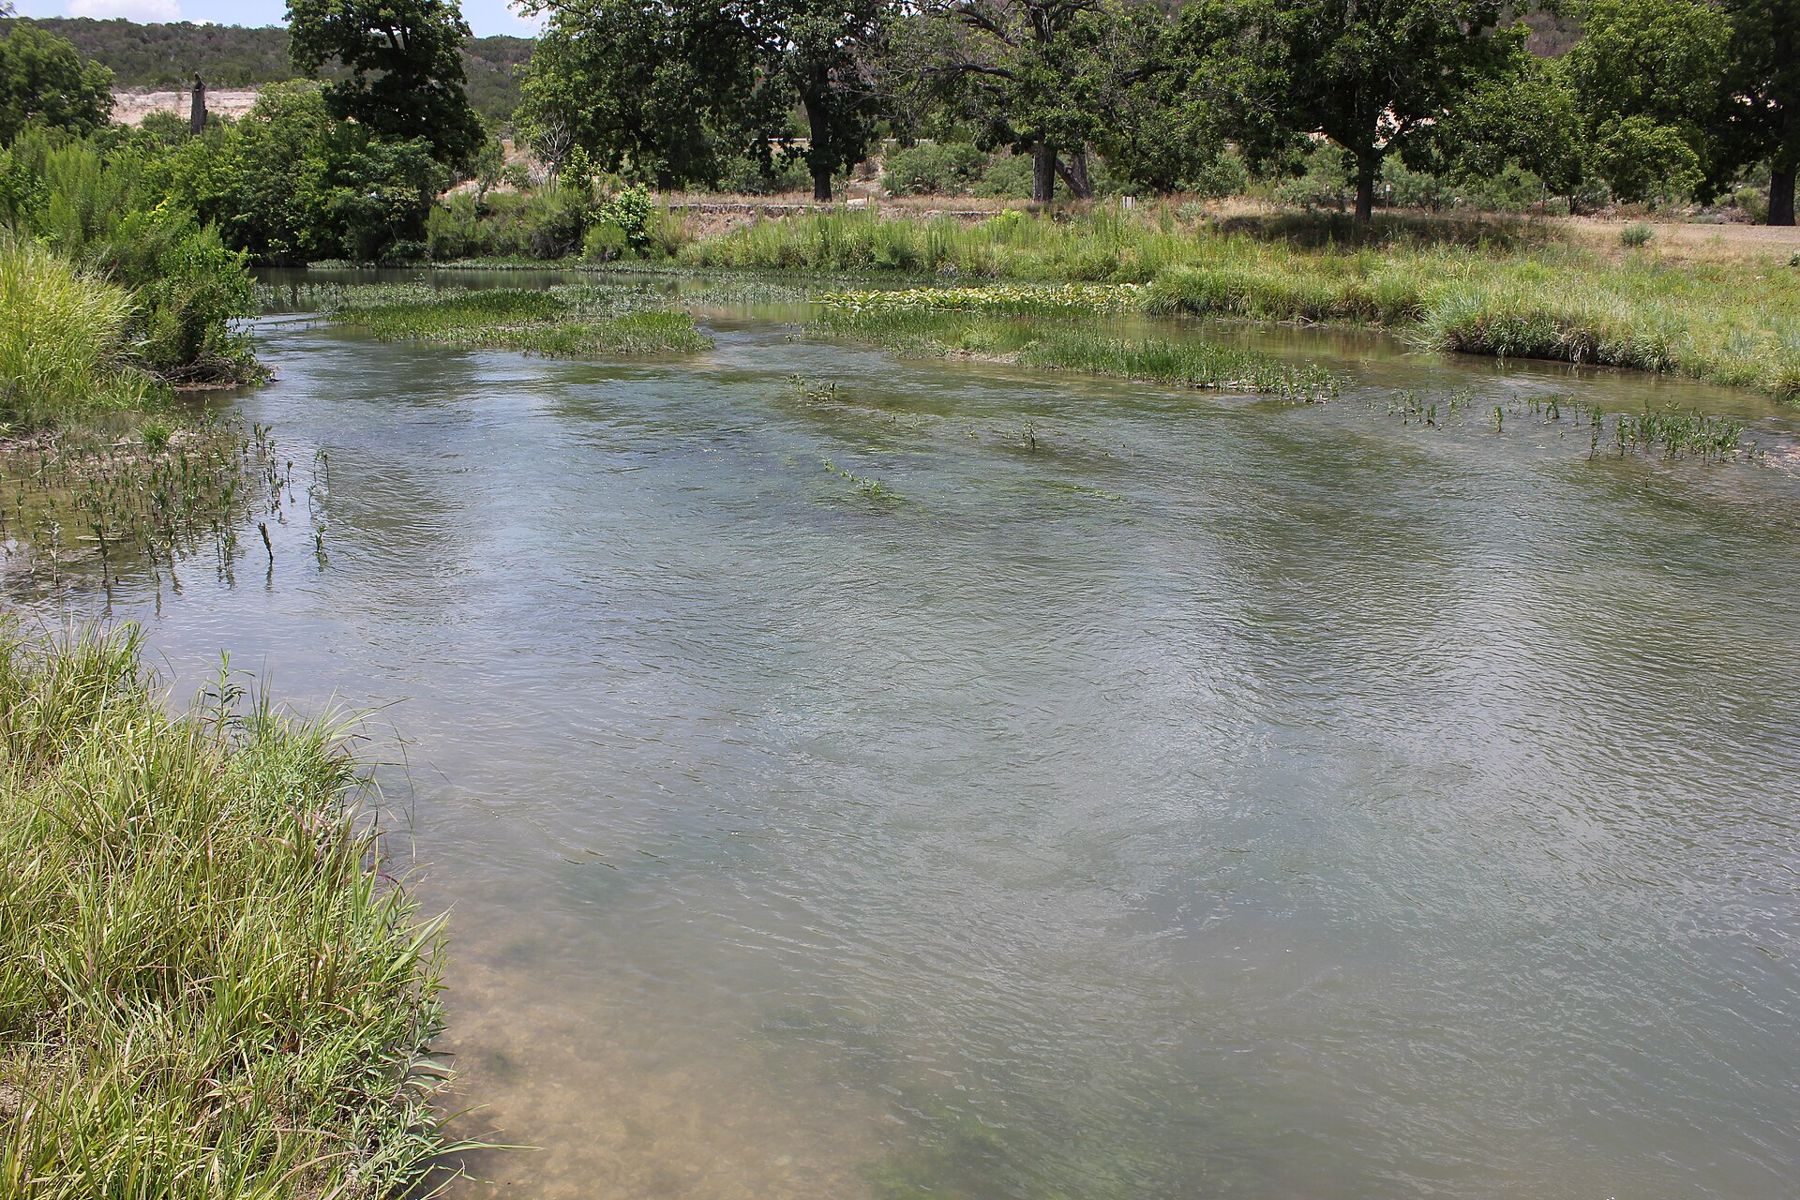
South Llano River State Park lies just south of Junction, where the river runs clear over limestone through a broad bottomland of pecan trees. Juniper and oak hills rise on either side, and above them sits one of the darkest skies within easy reach of the Hill Country cities. The park is an International Dark Sky Park, and Junction is a small town with little glow of its own.
That makes it a good place to learn a small telescope. The views are not about power or size. They come from dark air, a steady setup and the slow skill of finding faint things by hopping from star to star.
A dark sky over the pecan bottom
The bottomland is the heart of the park. Old pecans line the river, their crowns tall and spreading, and grassy openings lie between them. The trees are a mixed blessing at night. They shelter you from wind and block stray light, but they also cut off much of the sky. Look in daylight for an opening wide enough to show the south and a good stretch overhead, since most of what you will aim at passes through there.
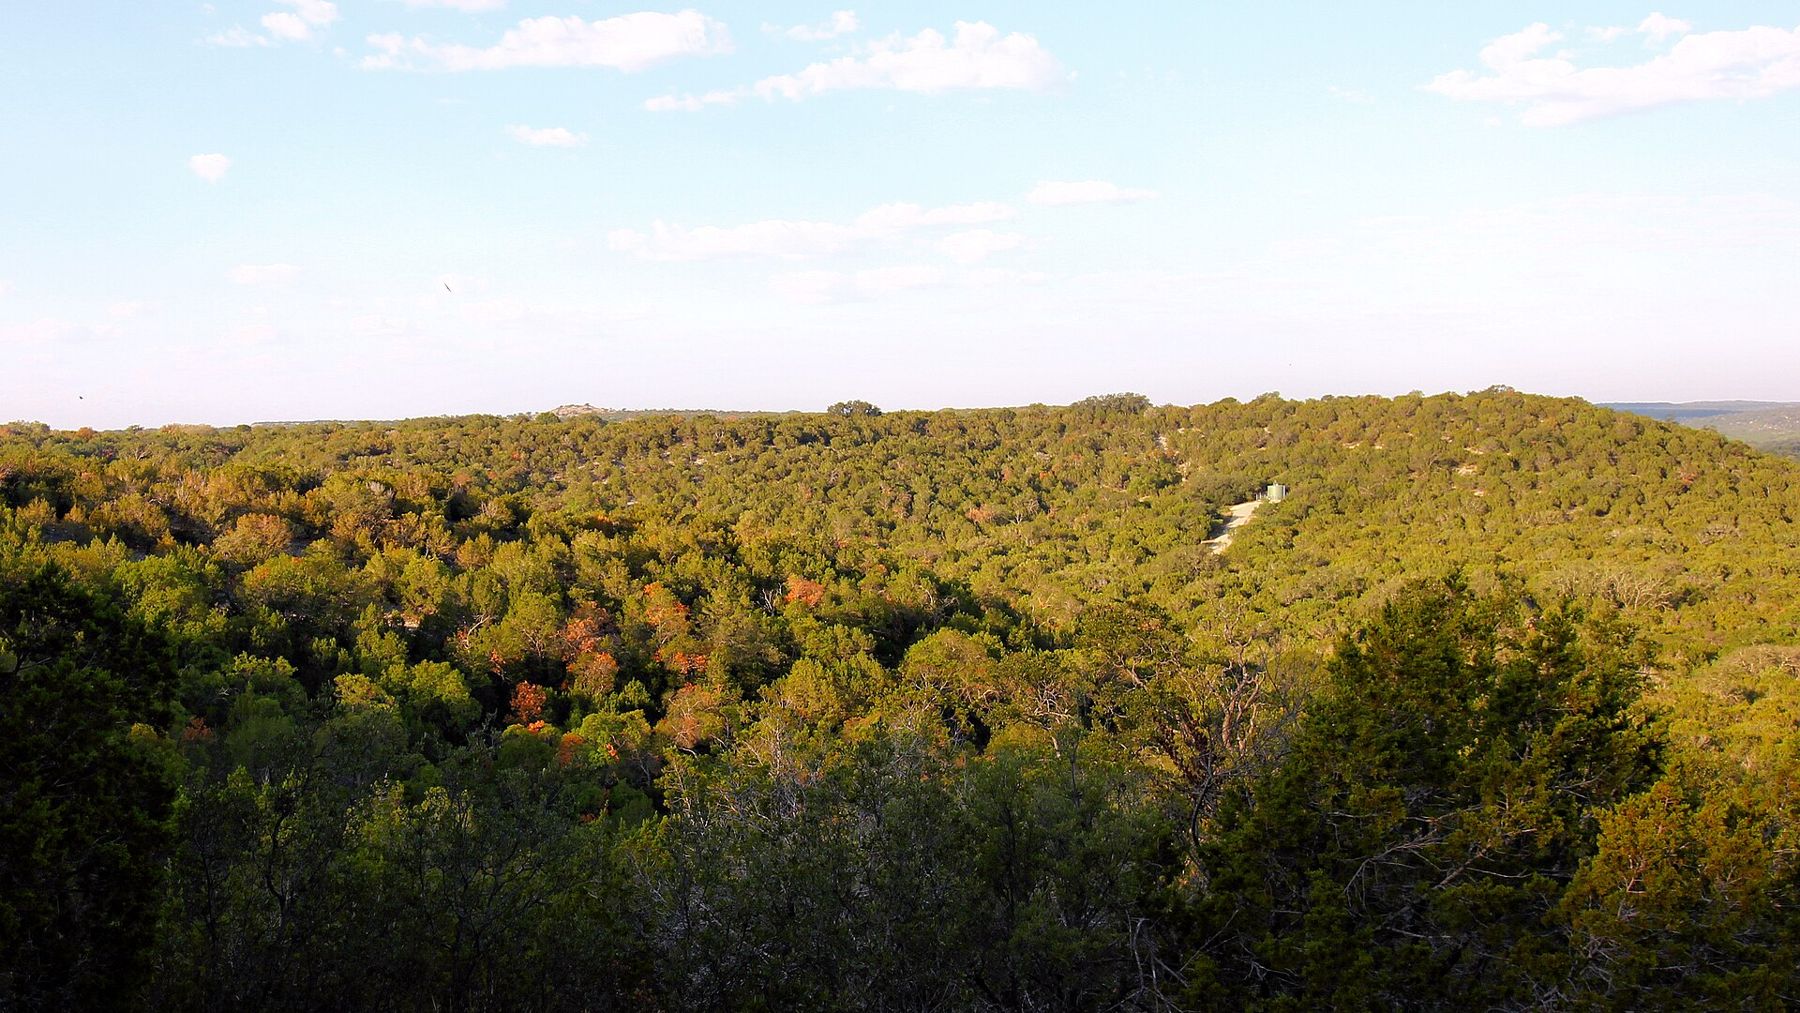
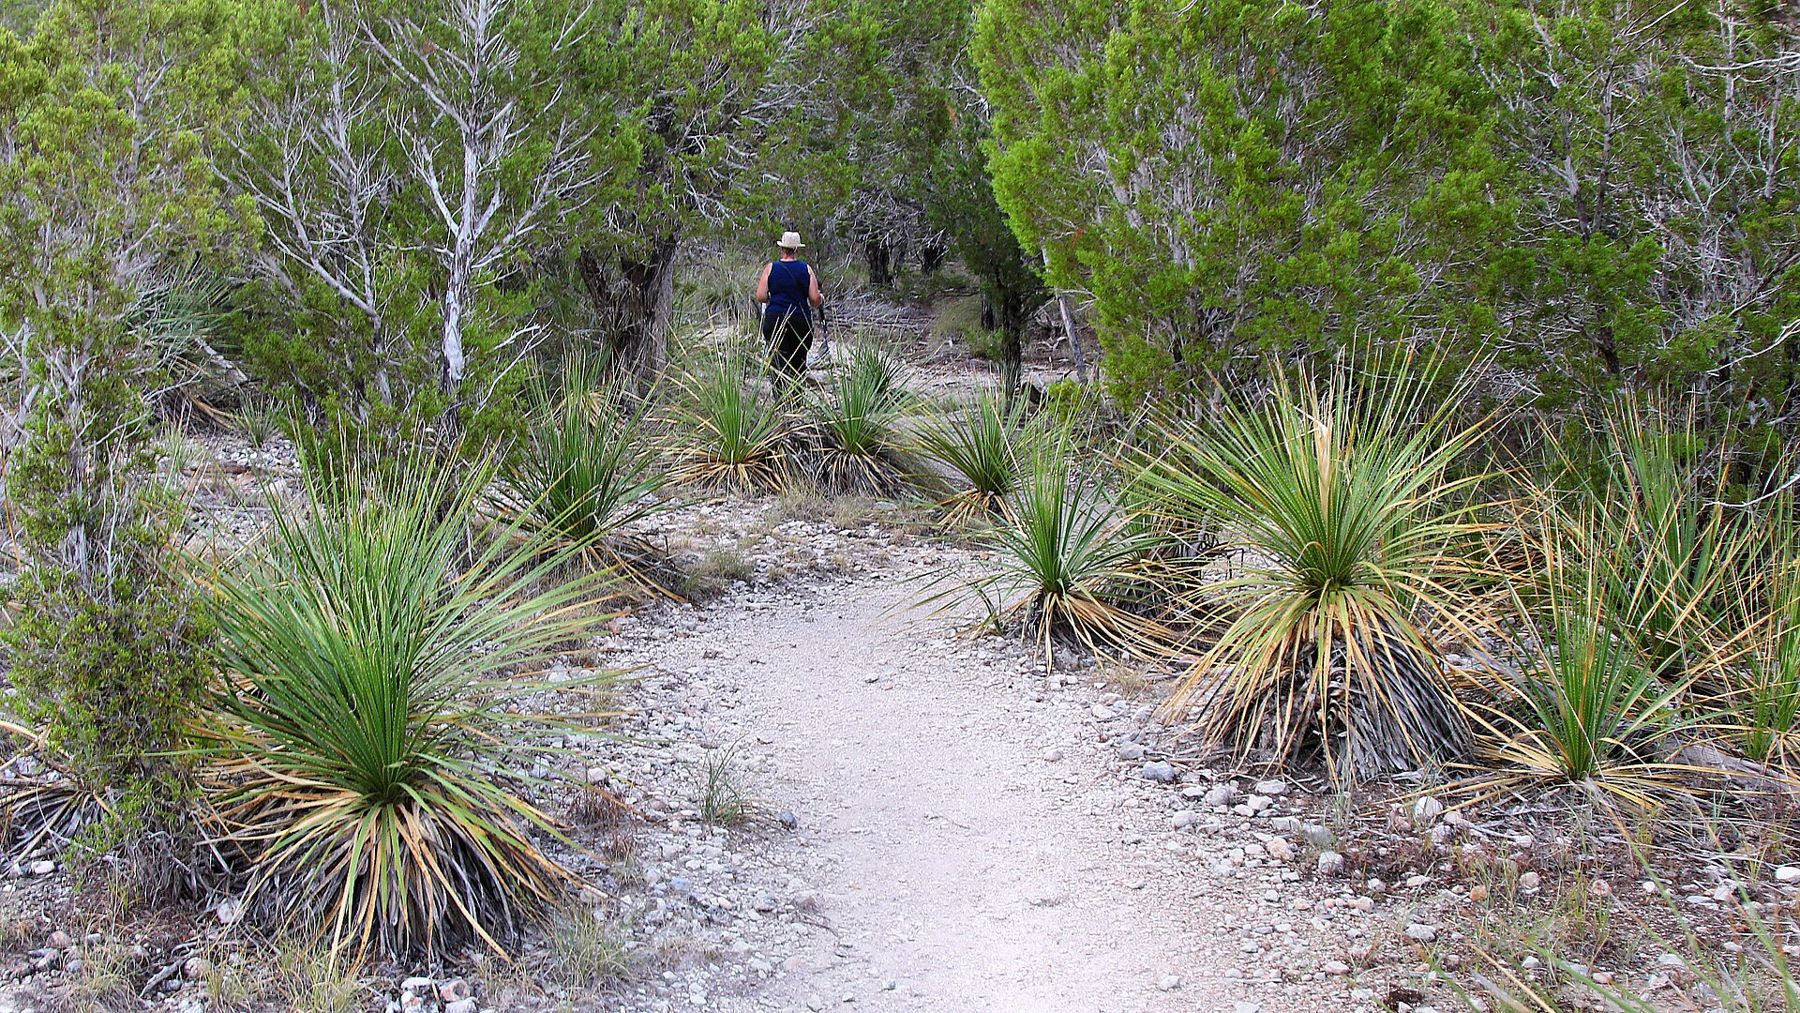
The higher ground has its own appeal. Trails climb to overlooks above the river, with long views west and south, but the paths are rocky and the edges are real. Whether you can be there after dark depends on the park's current rules, so ask, and stay within the hours and areas your pass or reservation allows.
Parts of the bottomland are also closed to visitors through the cooler months to protect a winter roost of wild turkeys. The quiet season, when the turkey roost closes explains why, and the park can tell you which areas are open on your dates.
Choosing a scope you will actually carry
The best telescope is the one you take out. For a night on the flats, that means something you can carry from the car in one or two trips and set up in a few minutes.
- A small refractor, with a lens of three or four inches on a light mount, is quick to set up and needs no adjustment. It gives crisp views of the moon, planets, double stars and bright clusters.
- A small reflector, such as a tabletop or short tube design of four to six inches, gathers more light for the price, which helps with faint galaxies and nebulae. Its mirrors need lining up now and then.
- A simple altitude-azimuth mount, which moves up and down and side to side, is the easiest to learn. You push the tube where you want it to go.
Add a red-dot or low-power finder and two eyepieces, one with a wide field and low power for finding, and one with more power for a closer look. That is enough for years of nights.
Setting up while there is still light
Arrive with an hour of daylight left. Choose firm, level ground, clear of fire ant mounds and the ruts of old vehicle tracks, and spread the tripod legs fully. Set the eyepieces, chart and lamp where you can reach them without looking.
Line up the finder with the main telescope in daylight. Point the scope at a distant treetop or fence post, center it in the low-power eyepiece, then adjust the finder until it points at the same spot. Never aim anywhere near the sun, not even for a moment.
Then let the telescope cool. The air near the river chills fast at sunset, and a tube carried from a warm car needs time to settle, or the images will shimmer. Leave it pointing at the sky with the caps off for half an hour or so while you eat, set up a chair and let your eyes start adjusting.
TX-4 · South Llano RiverThe quiet season, when the turkey roost closesStar hopping from what you can see
Star hopping is how most people find things with a small telescope. You start at a star bright enough to see by eye, then move the scope in short steps, matching the patterns of fainter stars in the eyepiece against your chart, until you arrive at the target.
- Pick a target and find it on a chart, along with the nearest bright star.
- Aim the finder at that bright star and check it in the low-power eyepiece.
- Note the direction and the distance to the target, measured in finder fields.
- Move one field at a time, naming each small pattern as you go.
- When you arrive, look slowly. Faint objects often appear only after a minute of steady looking.
Each season has easy first hops. In winter, drop down from Orion's belt to the sword and the Orion Nebula. In spring, look between Gemini and Leo for the Beehive Cluster, a scatter of stars just at the edge of naked-eye view. In summer, find the keystone of Hercules and the globular cluster M13 along its western side, or rise up the spout of the Teapot in Sagittarius to the Lagoon Nebula. In autumn, the Andromeda Galaxy is a fine target for both eye and scope.
Keep a log. A few words and a quick sketch for each object teach you more than any number of photographs, and your second visit to the same target will show you how much more your eye has learned to see.
The views are not about power or size.
Light, damp and the river at night
Use only a dim red light, held low, and switch it off when you are not reading your chart. A phone with a red filter is better than nothing, but still brighter than you think. If others are observing nearby, ask before you switch on any light, and keep car doors closed so the interior lamps stay dark.
River bottoms are damp places. On calm, clear nights the air near the water can reach its dew point long before midnight, and the first thing to fog is the glass at the top of your telescope. A dew shield over the front of a refractor slows it, and a cloth or small heater helps more. On some nights fog fills the valley entirely, and it pays to learn how to read the forecast for fog before you drive out.
Share the flats with their wildlife. Deer, armadillos, raccoons and skunks move about after dark, and on warm nights rattlesnakes hunt along the edges of the grass. Walk with your red light on the ground, shake out bags and cases before you reach into them, and keep food packed away.
One night, then the next
Do not try to see everything on your first night. Pick four or five targets in one part of the sky, find them well, and leave the rest for later. Notice what changes when the sky is darker, the air steadier or your eyes more patient. Those lessons travel with you, to a star party at the McDonald Observatory, where you can compare the same objects through much larger telescopes, or to a quiet evening after blue hour on the summit of Enchanted Rock.
Pack up slowly in the dark, counting eyepieces and caps by touch. Let the telescope dry with its caps off once you are home, so the dew evaporates before you store it.